Authorize
To start the authorization flow you need to redirect the user to the authorization URL. It looks like this:Indicates that you want to use the authorization code flow. Most common and
the only one supported by Polar.
The Client ID you got when creating the OAuth 2.0 client.
The URL where the user will be redirected after granting access to their data.
Make sure you declared it when creating the OAuth2 client.
A space-separated list of scopes you want to ask for. Make sure they are part
of the scopes you declared when creating the OAuth2 client.
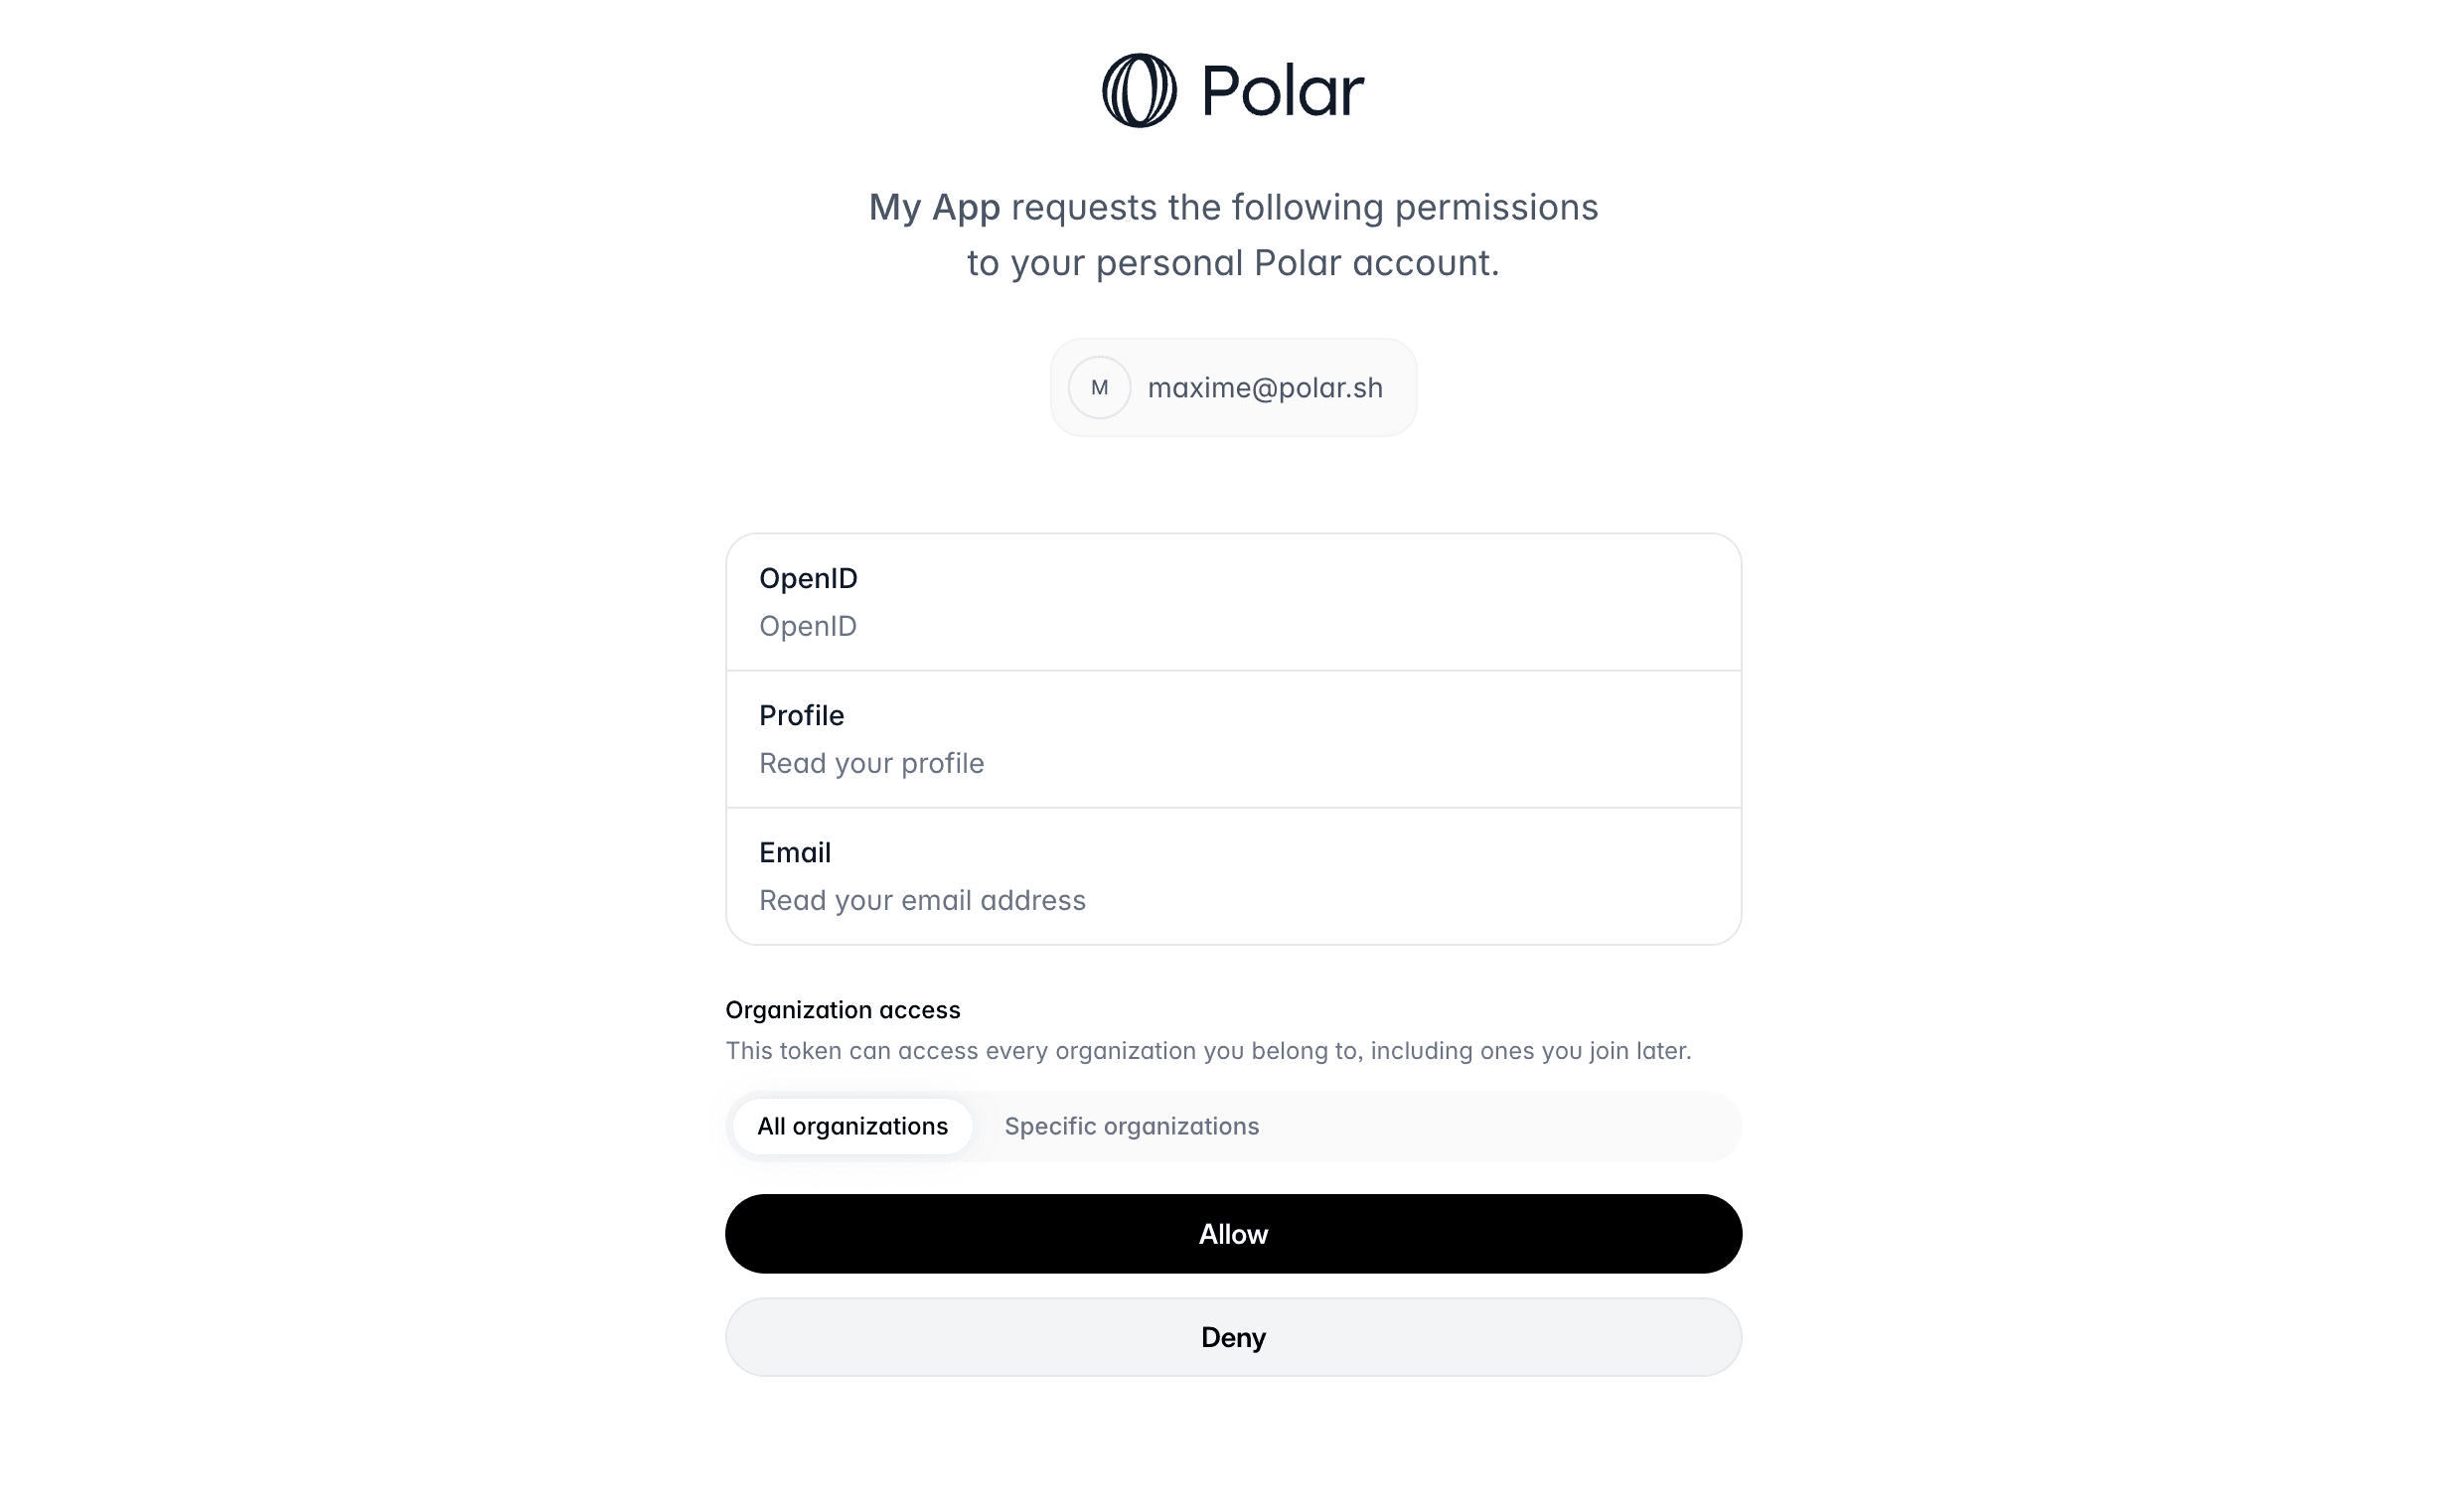
organizations array (an empty array means all of them).
If the user grants access, they’ll be redirected to your redirect_uri with a code parameter in the query string. This code is a one-time code that you can exchange for an access token.
Exchange code token
Once you have the authorization code, you can exchange it for an access token. To do so, you’ll need to make aPOST request to the token endpoint. This call needs to be authenticated with the Client ID and Client Secret you got when creating the OAuth2 client.
Here is an example with cURL:
Terminal
access_token will allow you to make authenticated API requests on behalf of the user. The refresh_token is a long-lived token that you can use to get new access tokens when the current one expires. The id_token is a signed JWT token containing information about the user, as per the OpenID Connect specification.
Public Clients
Public clients are clients where the Client Secret can’t be kept safe, as it would be accessible by the final user. This is the case for SPA, mobile applications, or any client running on the user’s device. In this case, and only if the client is configured as a Public Client, the request to the token endpoint won’t require theclient_secret parameter. However, the PKCE method will be required to maximize security.
Make authenticated requests
Once you have an access token, either from a Personal Access Token or from the OpenID Connect flow, you can make authenticated requests to the API. Here is a simple example with cURL:Terminal